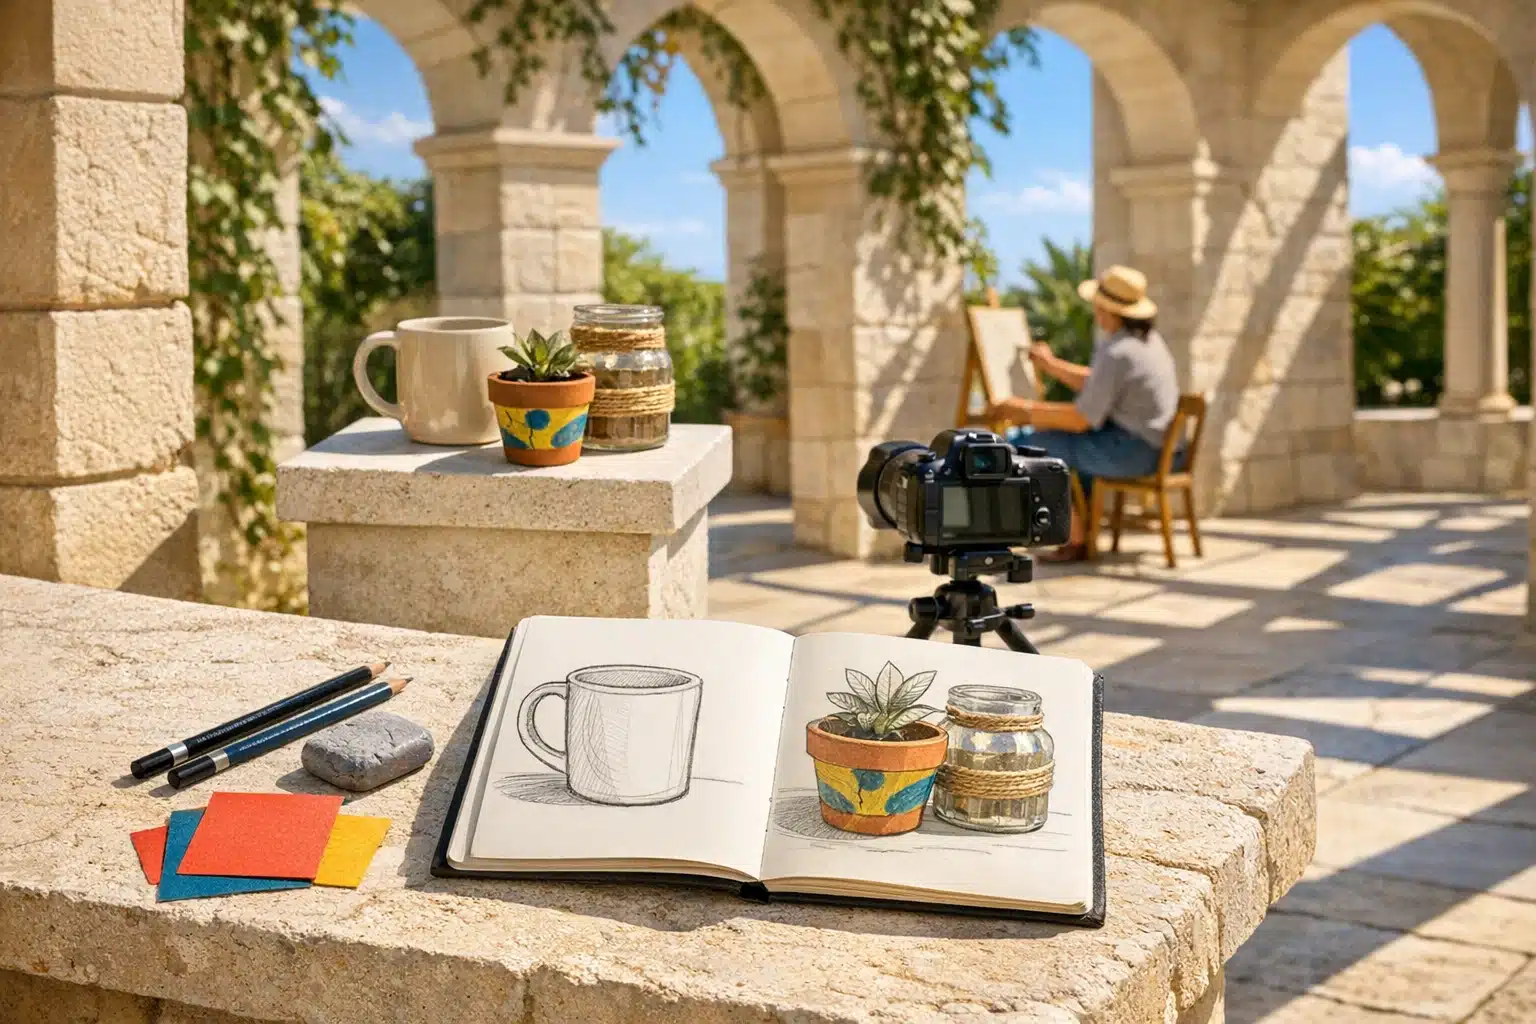
Creative Skills for Beginners: Drawing, Photography, and Craft Ideas
Creative hobbies do more than fill spare hours; they sharpen observation, improve patience, and make everyday life feel richer. Drawing trains your eye to notice shape and light, photography teaches timing and framing, and crafts turn ideas into objects you can actually hold. For beginners, these skills are approachable because the first steps depend more on curiosity than costly equipment. This guide offers a clear path through core techniques, useful comparisons, and simple projects that reward practice quickly.
Starting With a Roadmap: An Outline for Learning Creative Skills
Before getting lost in supplies, apps, or online tutorials, it helps to begin with a map. New learners often quit not because they lack ability, but because they try to learn everything at once. A blank page can feel like a dare, a camera can seem full of mysterious symbols, and a craft table can look like pure chaos unless the process is broken into manageable parts. That is why this article starts with a practical outline and then expands each area in detail.
The structure of this guide follows a beginner-friendly order. First, it explains the fundamentals of drawing, because drawing teaches observation in a direct way. Next, it covers photography basics, where light, timing, and composition become the central ideas. Then it moves into craft project ideas, which are especially useful for people who learn best by making something tangible. Finally, it ends with a conclusion aimed at beginners who want to build a sustainable routine instead of collecting half-finished projects.
- Understand what drawing teaches about line, shape, value, and proportion.
- Learn how photography works through exposure, focus, composition, and light.
- Explore craft ideas that are affordable, practical, and easy to start at home.
- Compare these hobbies so you can choose one focus or combine all three.
- Build a realistic habit that fits your budget, time, and energy level.
These creative areas are connected more closely than they may appear. Drawing improves your ability to see edges, shadows, and structure. Photography rewards the same awareness, but in a faster and more technical format. Crafts add physical problem-solving, turning visual ideas into objects with texture, weight, and function. In education, these skills are often used to develop design thinking because they train planning, revision, observation, and decision-making. In everyday life, they can also make you more attentive: you start noticing the curve of a coffee cup, the way sunlight moves across a wall, or how recycled materials can become decoration instead of waste.
For a beginner, the most important argument is simple: you do not need advanced talent to begin, but you do need a clear sequence. Learn to see, then learn to capture, then learn to make. That order keeps the process grounded and gives early progress a shape you can recognize.
Drawing for Beginners: Learning to See Before You Learn to Impress
Drawing is often treated as a talent people either have or do not have, but that idea is misleading. At the beginner level, drawing is less about natural genius and more about training your eyes and hands to cooperate. The first lesson is not how to draw a perfect face or a dramatic landscape. It is how to notice simple relationships: where one line begins, how one shape leans against another, and where light becomes shadow. Many art teachers start with cubes, spheres, and cylinders for a reason. Nearly every complex object, from a teapot to a bicycle, can be simplified into basic forms.
A smart beginner kit is small and inexpensive. You do not need a studio packed with tools. A few reliable materials will teach more than a crowded desk full of supplies.
- HB pencil for general sketching
- 2B or 4B pencil for darker values
- Simple sketchbook with medium-weight paper
- Kneaded eraser for lifting graphite gently
- Ruler only for practice exercises, not for every drawing
One helpful comparison for beginners is hard versus soft graphite. Hard pencils such as 2H make lighter marks and are useful for construction lines, while softer pencils such as 4B make darker marks and help build contrast. This matters because value, meaning the range from light to dark, creates the illusion of form. Without value, a drawing stays flat. With value, a circle starts to read as a sphere. That shift feels almost magical the first time it works, but it is based on observation, not trickery.
Practice should begin with four core skills: line control, shape recognition, proportion, and shading. For line control, draw straight lines and curved lines without rushing. For shape recognition, sketch everyday objects as rectangles, triangles, and ovals before adding detail. For proportion, compare sizes visually rather than guessing; for example, the height of a mug might be roughly one and a half times its width. For shading, learn to create gradual transitions instead of pressing hard immediately. Smooth value changes often look more convincing than heavy outlines.
Beginners also benefit from comparing contour drawing with gesture drawing. Contour drawing is slower and helps you study edges carefully. Gesture drawing is faster and captures movement and energy in 30 to 90 seconds. The first builds accuracy; the second builds confidence. Both are valuable. If you only focus on detail, your work may look stiff. If you only chase speed, your structure may fall apart.
A useful routine is to spend 15 minutes drawing basic forms, 10 minutes sketching a household object, and 5 minutes reviewing what went wrong and what improved. That short cycle is more effective than waiting for a rare burst of inspiration. In drawing, progress often arrives quietly. One day you realize the chair finally looks like it can hold weight, and that is when the skill begins to feel real.
Photography Basics Guide: Light, Exposure, and the Art of Framing a Moment
Photography is beginner-friendly because the camera captures results quickly, but strong photographs still rely on understanding. The most important foundation is the exposure triangle: aperture, shutter speed, and ISO. Aperture controls how much light enters the lens and also affects depth of field, which is the amount of the image that appears sharp. Shutter speed controls how long light hits the sensor; a fast speed such as 1/500 can freeze motion, while a slower speed such as 1/30 can blur movement. ISO controls sensor sensitivity to light, but raising ISO also increases noise, especially on smaller sensors.
This is where a simple comparison helps. If drawing teaches you to build an image from observation, photography teaches you to manage light under time pressure. The camera sees instantly, but it does not think for you. A bright afternoon might allow ISO 100 and a fast shutter, while indoor evening scenes often force trade-offs between blur and noise. Understanding those trade-offs matters more than buying expensive gear.
Beginners often ask whether a phone camera is enough. In many cases, yes. Modern smartphones are excellent for learning composition, timing, and light. They are convenient, always available, and often use computational photography to balance exposure automatically. A dedicated camera, such as a mirrorless or DSLR model, gives more manual control, better lens options, and usually better performance in low light due to larger sensors. The phone is simpler and more portable; the camera is more flexible. Neither replaces the need to notice what makes an image interesting.
- Use window light for softer portraits and still-life practice.
- Try the rule of thirds, but do not follow it mechanically.
- Tap or set focus on the most important subject area.
- Watch the background so it does not distract from the subject.
- Shoot from different heights instead of staying at eye level every time.
Composition is where many beginners improve fastest. Centering a subject can work, but it is not always the strongest choice. Placing a subject slightly off-center often creates more tension and movement. Leading lines, repeating patterns, and framing through doorways or branches can guide the eye naturally. Photographers also learn quickly that light changes the mood of an image. Midday light is bright and clear but can be harsh. Early morning and late afternoon, often called golden hour, produce warmer tones and longer shadows. Overcast weather softens contrast, which is useful for portraits and details.
Another basic distinction is JPEG versus RAW. JPEG files are smaller and ready to share, but they keep less editing flexibility. RAW files preserve more image data, which helps recover highlights and shadows during editing. Beginners do not need to obsess over file types immediately, but it is useful to know why advanced photographers prefer RAW in challenging lighting.
A solid practice exercise is to photograph the same subject in three ways: wide shot, medium shot, and close-up detail. This trains you to think beyond a single viewpoint. Photography becomes more rewarding when you stop taking pictures of objects and start making decisions about mood, story, and attention. That shift is the real beginning.
Craft Project Ideas for Beginners: Making Useful, Decorative, and Personal Work
Crafts are ideal for beginners because they combine creativity with visible results. Unlike sketch practice, which can feel private and technical, a finished craft project often has an immediate purpose. It might decorate a room, organize a desk, become a handmade gift, or simply prove that you can turn simple materials into something thoughtful. That practical reward is a major reason crafts remain accessible across ages and skill levels.
The best beginner craft projects are low-risk, low-cost, and flexible. Paper crafts are often the easiest starting point because paper is inexpensive, easy to cut, and forgiving when mistakes happen. Examples include handmade bookmarks, greeting cards, paper flowers, and collage art. These projects teach layout, color choices, layering, and neat finishing. Fabric crafts such as simple tote bag decoration, no-sew pillow covers, or basic embroidery are slightly slower but excellent for patience and texture. Recycled-material crafts, including tin-can planters, cardboard organizers, and jar lanterns, add sustainability to the process and encourage resourcefulness.
- Collage wall art from magazines, scraps, and printed textures
- Decorated storage jars using paint, twine, or labels
- Pressed-flower bookmarks laminated with clear adhesive sheets
- Simple photo board made from cardboard, clips, and string
- Painted plant pots for indoor herbs or desk plants
Comparing craft types can help you choose the right entry point. Paper projects are quick, clean, and great for testing design ideas. Textile-based crafts feel warmer and more personal, but they usually require more time and care. Recycled crafts are budget-friendly and satisfying if you enjoy problem-solving. Clay or resin projects can be beautiful, yet they often require more tools, ventilation awareness, and cleanup. For most beginners, starting with paper or recycled materials is the easiest way to gain confidence before moving into more demanding media.
Planning matters more in crafts than many people expect. Measure before cutting. Test glue on a scrap surface. Let paint dry completely before layering another color. These small habits prevent frustration. Safety also matters: use cutting tools carefully, protect surfaces with old newspaper or cardboard, and check whether paints or adhesives are suitable for indoor use.
One of the strongest arguments for crafts is that they train a different kind of creativity than drawing or photography. With drawing, you interpret what you see. With photography, you frame a moment. With crafts, you solve physical design problems: what material bends, what holds weight, what color combination feels balanced, and what finish makes the piece look complete. You learn by touching, testing, adjusting, and trying again.
If you are not sure where to begin, choose a project that can be completed in under an hour. A quick win builds momentum. A finished handmade object, however simple, has a quiet kind of power. It says that imagination is not just something in your head; it can live on your table, wall, shelf, or gift wrap too.
Conclusion for Beginners: Choosing a Starting Point and Building a Creative Routine
If you are new to creative hobbies, the best path is not to chase mastery in all directions at once. Start with the skill that feels most inviting, then let the others support it. Choose drawing if you want to improve observation and hand control. Choose photography if you enjoy capturing scenes, people, or details quickly. Choose crafts if you like tactile projects and the satisfaction of making useful objects. There is no wrong entrance, only different rhythms of learning.
These three skills strengthen one another in practical ways. Drawing helps you understand structure, which improves how you compose photographs. Photography gives you reference material for drawing and color ideas for craft work. Crafts teach patience, finishing, and material awareness, which can improve both your visual planning and your ability to complete projects. Instead of treating them as separate hobbies competing for your attention, think of them as neighboring rooms in the same creative house.
A realistic beginner routine does not need hours every day. Consistency matters more than intensity. Even short sessions can build skill if they are focused.
- Day 1: 20 minutes of drawing basic objects from life
- Day 2: 20 minutes of photographing light, shadows, or textures
- Day 3: 30 minutes on a small craft project
- Day 4: Review your results and note one strength and one weakness
- Day 5: Repeat the activity that felt most enjoyable
This kind of schedule works because it keeps momentum alive without turning creativity into pressure. Beginners often expect visible progress every time they practice, but creative growth is uneven. Some days your sketch will look awkward, your photos will feel flat, or your craft idea will not assemble the way you imagined. That does not mean you are failing. It means you are learning how decisions create results.
For the target audience of this guide, namely beginners who want a clear and encouraging starting point, the most important takeaway is simple: begin small, stay observant, and finish modest projects before aiming bigger. A pencil, a phone camera, and a handful of basic supplies can take you surprisingly far. Over time, your tools may improve, but the deeper change will be in how you notice the world. That is the lasting gift of creative practice. It teaches you not just how to make things, but how to truly pay attention.